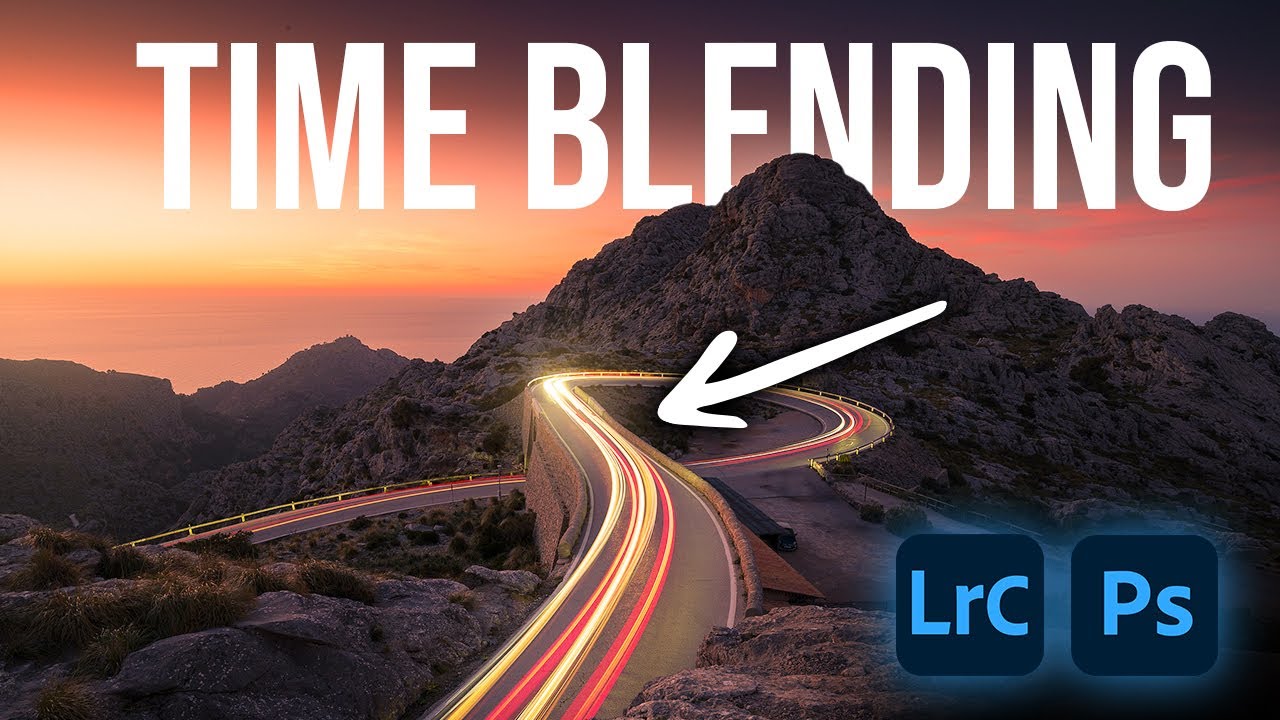
How EXPOSURE BLENDING makes your Photos BETTER! (Lightroom & Photoshop Tutorial)
In the world of photography, there's a technique called exposure blending that can take your images to new heights. Have you ever seen those stunning photos where a serene sunset meets the hustle and bustle of city life with mesmerizing car light trails? That's the magic of exposure blending.
In this tutorial, we'll delve into the process of exposure blending using Lightroom and Photoshop. But before we dive in, let's understand the concept a bit better.
Understanding Exposure Blending
Exposure blending is the art of combining multiple exposures of the same scene to capture a wider dynamic range. This technique allows you to retain details in both the highlights and shadows, resulting in a well-balanced and visually appealing image.
Step 1: Capturing the Shots
To start with exposure blending, you need to capture multiple exposures of the scene you want to blend. For instance, let's consider a scenario where you want to capture a sunset along with captivating car light trails.
First, shoot the base image right at sunset. Ensure your camera is mounted on a tripod to maintain consistency in composition. Then, capture additional exposures during the night to capture the car light trails. Again, keep your camera stationary on the tripod.
Step 2: Basic Adjustments in Lightroom
Now, let's bring our images into Lightroom for some basic adjustments. Begin with the base image captured at sunset.
- Adjust the profile to enhance saturation, giving the image a vibrant look.
- Fine-tune white balance to emphasize warm tones, typical of a sunset scene.
- Work on exposure to achieve a bright and vibrant look while retaining details in the highlights and shadows.
- Enhance contrast and sharpness to make the image pop.
Step 3: Masking and Color Grading
Next, apply masking to enhance specific areas of the image, such as the sky and horizon. Create a natural glow effect to mimic the warmth of the sunset. Additionally, tweak colors using the color mixer to further enhance the sunset hues.
Step 4: Editing Car Light Trail Photos
Moving on to the car light trail photos, adjust white balance and exposure to emphasize the warmth and brightness of the car lights. Enhance clarity and vibrance to make the light trails stand out.
Step 5: Time Blending in Photoshop
Now, it's time to merge all the images in Photoshop for exposure blending. Open the images as layers and align them perfectly. Change the blending mode to 'lighten' to blend the exposures seamlessly.
To refine the blending, apply layer masks and selectively reveal the desired elements, such as the car light trails, while eliminating distractions.
Step 6: Final Touches and Conclusion
After blending the exposures, make final adjustments to sharpening and color grading to ensure a cohesive look across the image. And voila! You've successfully created a stunning image using exposure blending.
Exposure blending opens up endless possibilities for creative expression in photography. Whether it's capturing the serenity of nature or the dynamic energy of urban life, mastering this technique can elevate your photography to new heights.
So, next time you're out shooting, experiment with exposure blending to create breathtaking images that truly stand out. Happy shooting!
Thank you for watching this tutorial by Christian Möhrle. For more tips and tutorials, stay tuned to his channel.


0 comments:
Post a Comment