DIY Backdrop Hanging System by Marco Melander
This is what you need:

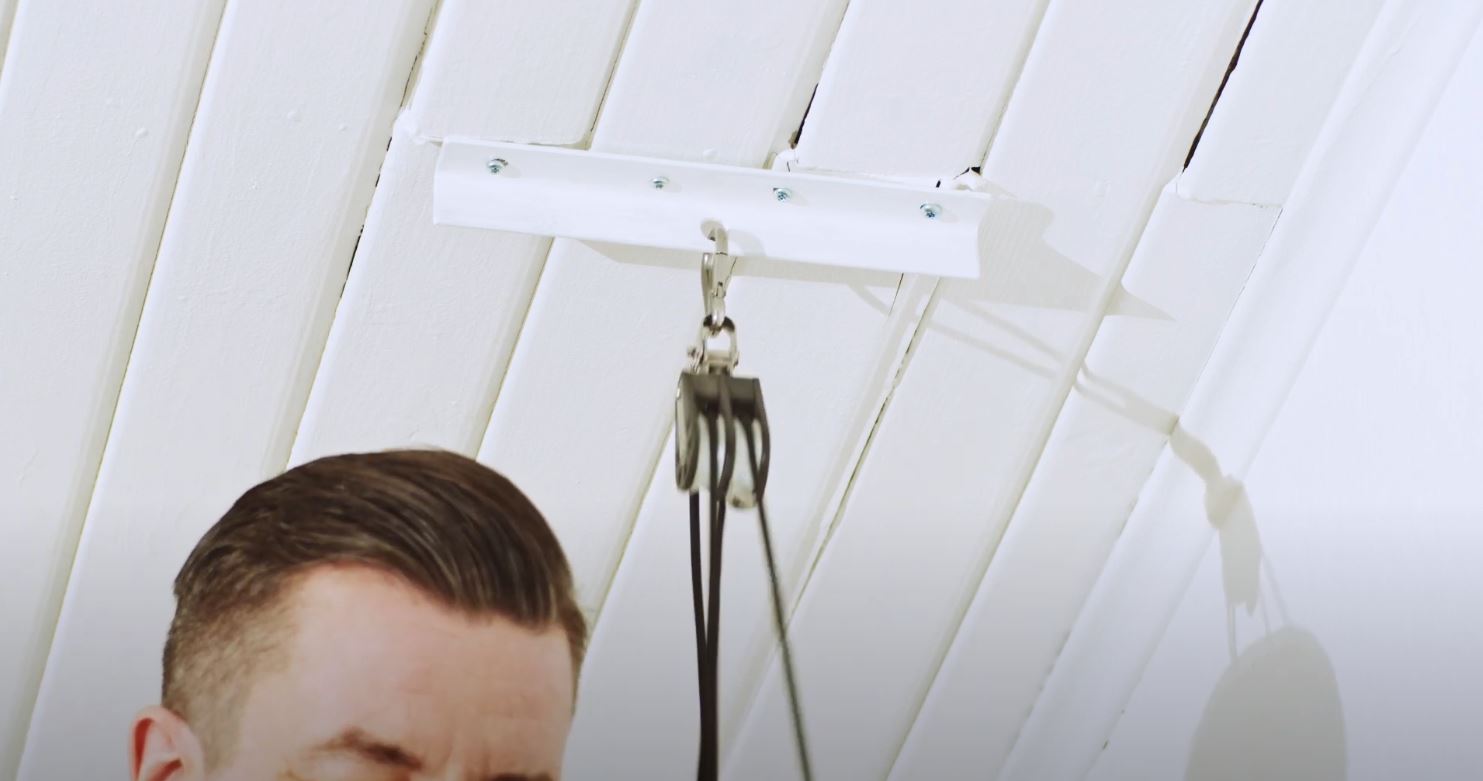
- 12-15 meters of rope (6-8 mm) depending of the height of your studio
- 2 eye screws for ceiling installation
- 2 snap hooks
- 1 single pulley and 1 double pulley
- 1 bollard
- a backdrop expan set or a rod
1. Drill holes for the eye screws to the ceiling and insert suitable plugs. The distance between eye screws is 270 cm.
2. Use snap hoops for the pulleys. The double pulley is installed on the same side as the bollard.
2. Use snap hoops for the pulleys. The double pulley is installed on the same side as the bollard.
3. Pull out both ends of the rope through the double pulley. (Do not cut the rope, keep it as a loop)

4 . Fasten the single pulley and pull out the other end of the rope
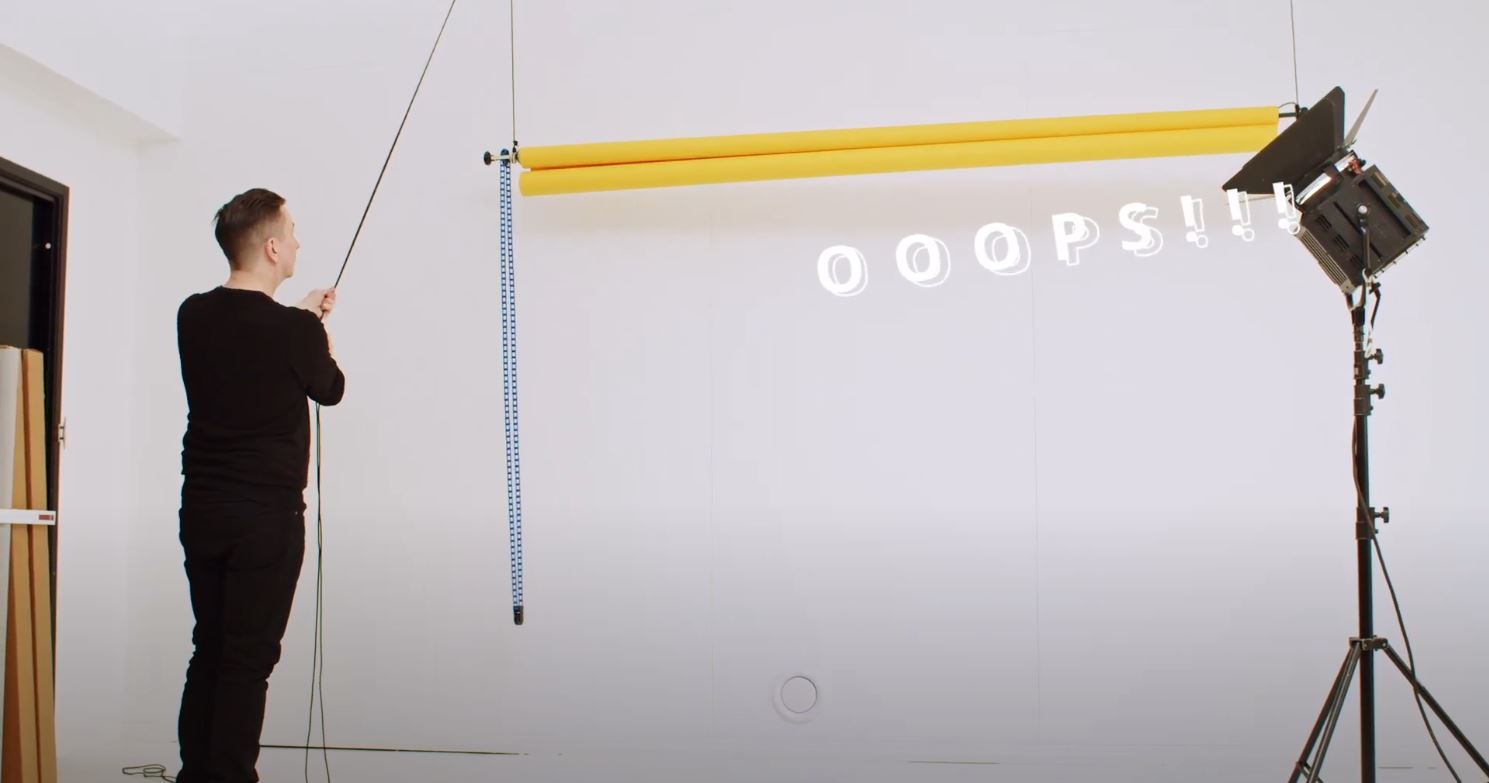
5. Make hangmans knot on both ends of the rope for easy adjusting, tightening, and loosening. Attach the ex-pat set.
6. Level the backdrop by adjusting the ropes and securing to the bollard.
You can also use a simple rod to hang up backdrops and fabrics.
Let's Get Connected: Website | Twitter | Facebook | Instagram | ISO1200 Edu Profile
Let's Get Connected: Website | Twitter | Facebook | Instagram | ISO1200 Edu Profile
Want to organize your backdrops? Marco Melander is photographer and inventor of www.stackeroriginal.com, a new innovation for keeping seamless photography backdrops neatly organized at your studio


 Marco Melander is a photographer who lives and works in Helsinki. He is best known for his art project Atelieri O. Haapala (2008–2016), which he carried out together with Saara Salmi. They photographed people at various thematic events, explored the construction of identity through roles, and offered nostalgic escapism through participatory performances.


0 comments:
Post a Comment