You've Printed Your Images... Now What?
Ever felt that pang of disappointment when a beautifully printed photo arrives with curled edges? Or perhaps you've longed to give your prints that extra touch, a unique presentation that elevates them from simple paper to cherished objects? There's something deeply satisfying about holding a physical print, a tangible representation of a captured moment. But the journey doesn't have to end at the printer.
This article is your guide to taking your printed photography to the next level, inspired by the practical and insightful approach of Thomas Heaton. He explores techniques for flattening curled prints, optimizing your viewing environment, mastering cutting and mounting, and even crafting stunning wooden photo blocks.
The Curled Print : Flattening with Ingenuity
Ah, the dreaded curl. It's a common nemesis for anyone printing on certain types of paper. Rolling prints back the other way? Tried it, and like Thomas, I found it just leads to wavy, frustrating results. The real magic, as he discovered, lies in heat.
The Trouser Press Triumph: Forget bulky, expensive heat presses. A vintage trouser press, readily available on platforms like Facebook Marketplace, is a surprisingly effective and budget-friendly solution. The gentle, even heat flattens curled prints beautifully.Archival Tissue Paper: Don't forget to use archival tissue paper to protect your prints during the flattening process. This ensures your precious images remain unscathed.Batch Processing: Maximize your time by flattening prints in stacks. This is particularly useful for smaller prints that tend to curl more.
Practical Tip: When using a trouser press, start with a lower heat setting and gradually increase it as needed. Always use archival tissue paper to prevent direct contact between the print and the press.
Lighting Matters: Viewing Your Prints in Their Best Light
Color matching from screen to print can be a tricky business, as Thomas points out. But once you've achieved that perfect print, how do you ensure you're viewing it accurately?
Daylight is King: Natural daylight provides the most accurate representation of your prints. However, consistency is key.The Daylight Lamp Solution: Invest in a high-quality daylight lamp, like the Lumi Satin BL, to replicate daylight conditions, especially during evening hours or in less-than-ideal lighting.Spacious Workspace: A large, well-lit workspace is essential for inspecting, signing, and packaging your prints.
Practical Tip: Look for daylight lamps with adjustable brightness settings and a wide, even throw of light. Consider a lamp with a flexible arm for optimal positioning.
Precision Cutting: The Art of Trimming and Matting
A sharp, clean cut can elevate your prints from amateur to professional.
The Precision Trimmer: A self-sharpening precision trimmer is a valuable tool for achieving clean, straight cuts.The Logan Ruler System: For larger prints, the Logan ruler system provides a stable and accurate cutting platform.Mat Cutting Mastery: Creating your own mats adds a professional touch to your prints. Use a dedicated mat cutter for precise 45-degree cuts.Mount Board Choices: Experiment with different colors and textures of mount board to complement your prints.
Practical Tip: When cutting mats, always mark the size of your print on the back of the mount board to ensure accurate cuts. Remember to flip the mat board so that the good side is facing down.
Adding a Signature Touch: Embossing Your Prints
An embossed signature or logo adds a unique and sophisticated touch to your prints.
The Right Embosser: Invest in a heavy-duty embosser for consistent and even results on heavyweight photo paper.Precision Placement: Carefully align and measure the placement of your emboss to ensure a professional finish.Border Considerations: Consider the border space around your print when embossing, especially if you're printing from sheet paper.
Practical Tip: Practice embossing on scrap paper before applying it to your final prints. Ensure the stamp is perfectly straight to avoid a wonky or unprofessional look.
The Wooden Photo Block: A Unique Display Option
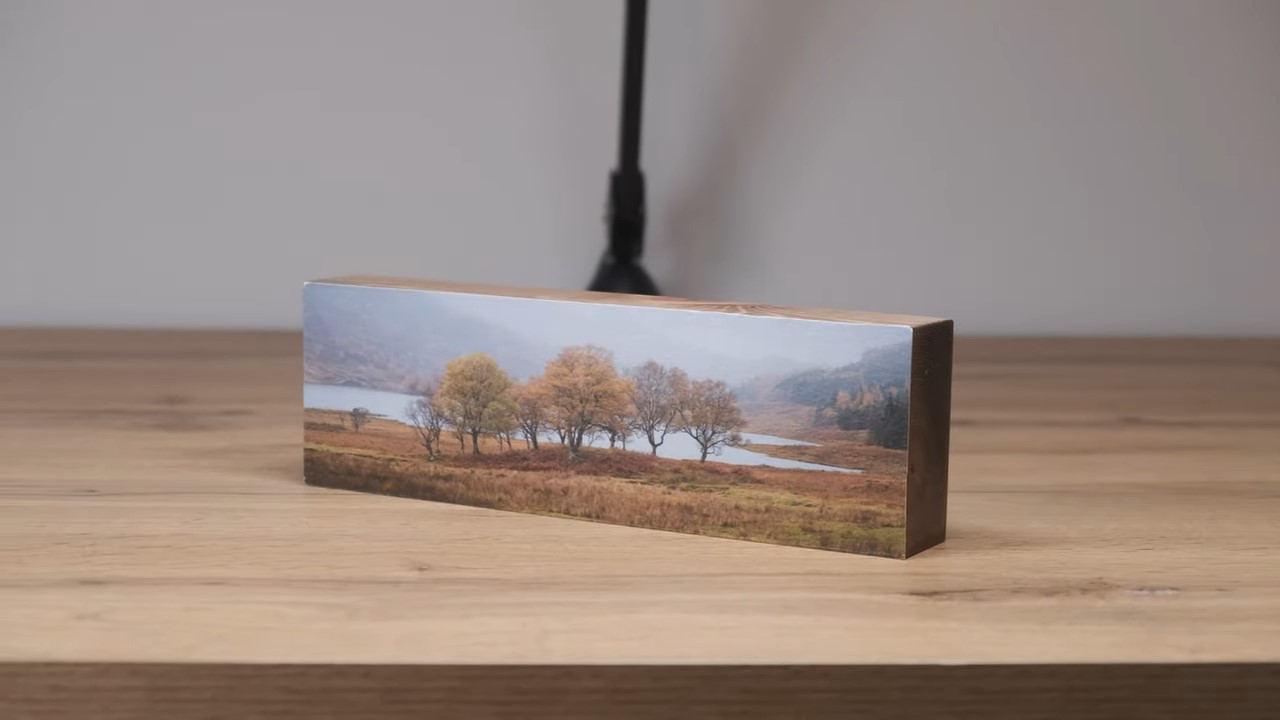
For a truly unique and eye-catching display, consider mounting your prints onto wooden blocks.
Materials and Tools: You'll need a wooden block, sandpaper, stain or wax, Mod Podge, and a roller.Preparation: Sand the wooden block smooth and apply a stain or wax to enhance the wood's natural beauty.Mounting the Print: Use Mod Podge to adhere the print to the wooden block.Sealing the Block: Apply multiple coats of Mod Podge to seal the entire block, creating a durable and laminated finish.Sanding and Finishing: Lightly sand the edges for a smooth finish.
Practical Tip: Use a piece of carpet to prevent the wooden block from sliding while sanding. Apply multiple thin coats of Mod Podge for a smoother, more even finish.
The Power of Presentation: Completing Your Photographic Vision
Ultimately, how you present your prints is just as important as the images themselves. These techniques, whether it's flattening a curl or crafting a wooden block, allow you to take ownership of the entire process, from capture to presentation.
Connecting with Your Audience:
Gifts with a Personal Touch: Mounted and framed prints, or those on wooden blocks, make thoughtful and personalized gifts for friends and family.Elevating Your Sales: Professional presentation can significantly enhance the perceived value of your prints, leading to increased sales.Creating a Cohesive Brand: Consistent presentation across your prints and products helps to establish a strong and recognizable brand.
Beyond the Basics:
Experiment with Different Materials: Explore other mounting options, such as metal or acrylic.Create Custom Frames: Design and build your own custom frames to perfectly complement your prints.Incorporate Storytelling: Include a brief story or description with each print to add context and emotional depth.
By embracing these techniques, you can transform your printed photography into something truly special.


0 comments:
Post a Comment