Tag Heuer Glasses: Hi-End Product Shoot Tutorial by Clement Bourcier
Today we have the pleasure to feature " TAG HEUER EYEWEAR - Behind the scenes". Written by Clement Bourcier (website), we hope you enjoy with this story
A few months ago one of my clients asked me to photograph their new collection of glasses. I had already worked with them for catalogue photography but it was my first time doing a hero shot for them. The brief was clear. I needed to recreate the exact same ambiance that they used previously: Glasses with a hard reflection on the right glass, superimposed on a gradated black background with a little shadowing.
With this post I will explain how to achieve the same results as these pictures. Before we start here’s what you’ll need:
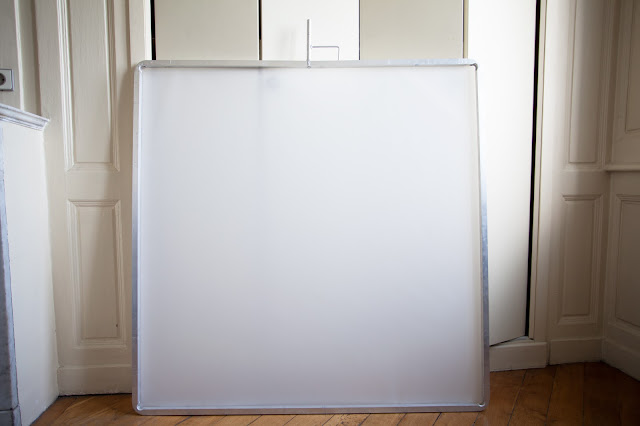
- Diffusion Frame 48x48”. The bigger the better. Everything depends on how the glasses are curved. If the curve of the glass is very pronounced it will catch all the reflections of the room if your diffusion frame is too small. You can find diffusion frames at B&H, for a reasonable price. If you live in France you can go on the website Key Lite.
- Roll of Lee 216 white diffusion. You can try a different kind of diffusion, but generally you will need a strong diffusion paper.
- Foam board 24x36” white and black. The white one will be used as a reflector under the glasses. The black will be used as the background. You may possibly be able to find these at a local art supply store.
- Reflective paper: white, silver and grey. These papers will be used to sculpt the light on the glasses. You will need different strength.
- Strong wire in order to attach the glasses by one of the arm and compressed air duster to clean the glasses without touching it.
Production:
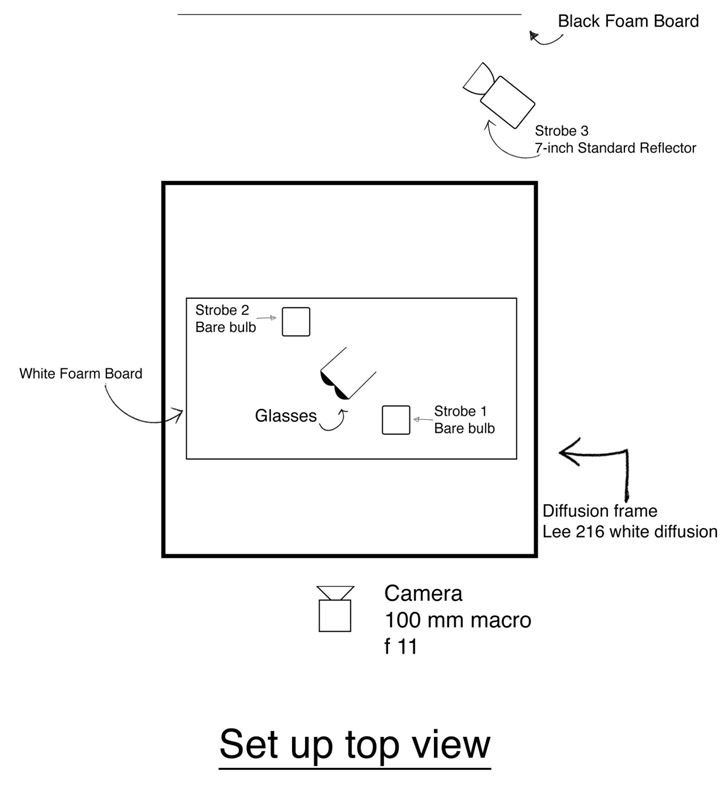
The lighting setup for this kind of picture is not really difficult. It’s two strobes bare bulb through the diffusion panel. The important part is positioning the two lights above the frame.
In fact, moving the strobe just a few centimetres can dramatically change the lighting so you need to take your time and make the correct adjustments. Once you are happy you can introduce the third strobe for the background and then put a reflective paper close to the right glasses arm.
Because the product is small and you need to
be close, with this kind of shot it’s impossible to have the entire product in
focus. So you will have to photograph each part of the glasses individually.
You will end up with at least 6-10 photos. It’s really important not to move
the product and to use a tripod during this process. You will also have to use
reflective paper to illuminate certain part of the glasses. Most of the time I
have between 15-20 photos for the post-production.
Post-Production
The Photoshop part is just as important as the shoot. You will have to stack all the pictures. You can try to use the auto-align layer tool in Photoshop but it’s never worked for me. I think it’s because my lenses have too much focus breathing. If it works for you that’s wonderful because this part of the job is a real pain in the ass. Once I have finished stacking all my photos I start to clean the product. Even if you wipe the product before the shoot you will end up with a lot of specks. Be prepared to spend time here too. For the finish I create the hard reflection (on the right glass) and shadows in Photoshop.
I hope this post is useful to you. Product photography is really interesting but it’s also a long process. In order to obtain a clean picture you have to be really patient and try again and again.


0 comments:
Post a Comment